H5 UNIVERSAL
-
What is the difference between the H5 Ultimate and the H5 Universal?
There are two differences between H5 Ultimate and the H5 Universal, the color schemes and attached fans. The H5 Universal comes with white heatsink covers and the XT140 slim profile fan which provides zero ram interference on Intel/AMD platforms. As for the H5 Ultimate, it has black heatsink covers and a larger XF140 fan which makes stronger airflow. In short, the H5 Universal focuses on the best compatibility on the market, and the H5 Ultimate is about pure performance. -
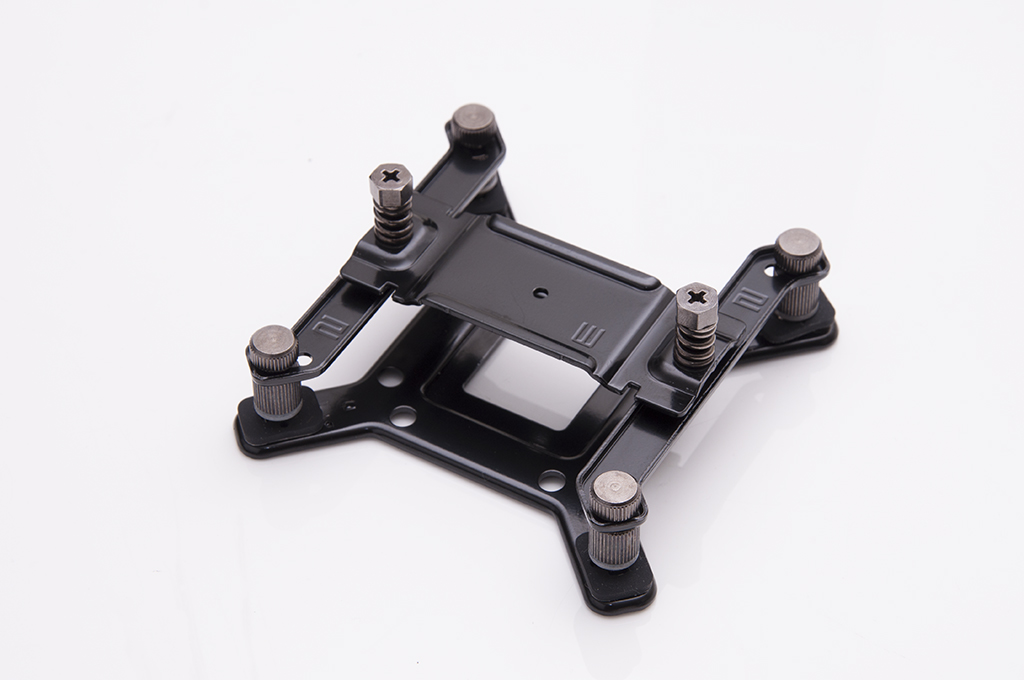
When I install the Backplate onto my mainboard, I notice that the Backplate and Screw Pillars are hanging lose from the mainboard and it is impossible to screw the Screw Pillars all the way down, is this right?
Just like how we mentioned on the Installation Guide, the Screw Pillars are meant to hang and not contact the mainboard. This is actually part of Intel’s and AMD’s design guideline for CPU heatsinks. By leaving space, allows the H5 and the Backplate to sandwich and apply even pressure to the top of the CPU and the back of the socket. This means that the Backplate is correctly doing its job in providing pressure and support for the mainboard, and preventing it from bending. Actually if it were the four Screw Pillars touching and clamping onto the mainboard, then the heatsink would actually be pulling on the mainboard on four individual points rather than a plane. This actually is counterproductive, and not actually putting the backplate to use. -
Can I use other fans on the H5? What types of fans are supported by the fanclips that come with my H5?
No matter which version of your H5 is, there will be two sets of fanclips in total. One set is already pre-attached on the heatsink and the other set is for users to put an extra fan for a push/pull configuration. The additional fanclips of the H5 Universal support 140mm by 26mm round fans. As for the additional fanclips of the H5 Ultimate, they support 140mm by 13mm round fans. -
When installing my H5, I am having difficulties to screw on the spring screws onto the mounting bar, any tips?
When placing the H5 onto the CPU, first make sure that the spring screws are in fact inserted into the elevated screw holes on the mounting bar. Next, when sliding down the screw driver place the screw driver into the mounting hole. Slightly tilt the head of the screw driver towards the back of the heatsink if you’re having problems locating the spring screw head. -
When I try to screw on the Spring Screws, I find it difficult to screw the other side once I'm finished with the first. What am I doing wrong?
When screwing the Spring Screws please screw in 1/3rd’s at a time then alternate between both sides. Totally screwing in one side directly may cause harm to the spring screws and make it difficult to screw the heatsink properly. -
How tight should I screw in the spring screws on the mounting kit?
When screwing in the spring screws continue until you feel a clear stop, and do not go any further. Minimum force should be needed when installing your CRYORIG heatsink.